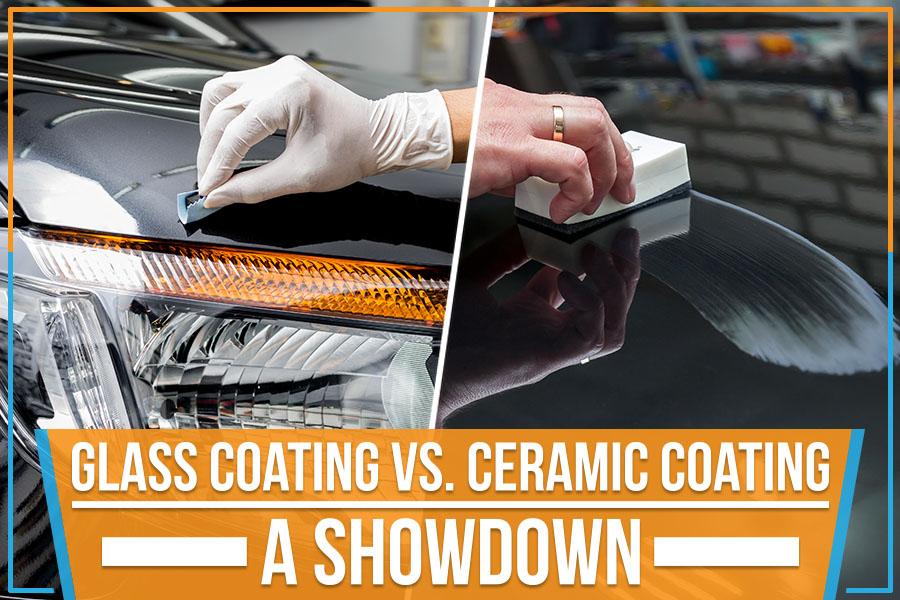
Glass Coating Vs. Ceramic Coating: A Showdown
When you need to have your car detailed, there are several options. You can choose to have your car waxed, coated with paint sealant, or go with a ceramic coating. So which one is the best?
In this blog post by Inside Out Car Care, we will compare glass coating vs. ceramic coating and see which one comes out on top!
What Is Glass Coating?
Glass coating is a type of clear paint protection film applied to the external surface of a car’s windows. The film creates an invisible barrier that helps protect the glass from dirt, scratches, and other types of damage. Glass coating is often used on high-end vehicles where the owner wants to preserve the pristine look of the paint job. In addition, glass coating can also help to improve visibility in bad weather conditions by repelling water and snow. While it is not a necessity, it is becoming increasingly popular to keep cars looking new longer.
When to Choose Glass Coating for Your Car?
Deciding when to have glass coating applied to your car can be a tricky proposition. The benefits of glass coatings are well-documented, but the decision ultimately comes down to a few key factors.
First, consider the climate in which you live. If you live in an area with harsh weather conditions, a glass coating can help to protect your paint job from UV damage and premature fading.
Similarly, if you live in an area with high levels of pollution, a glass coating can help to keep your car clean and prevent contaminants from bonding to the paint.
In general, however, most people choose to have a glass coating applied when they are planning to keep their car for a long time to preserve the look.
What is Ceramic Coating?
Ceramic coating is a liquid polymer that is applied to the exterior of a car. Every car owner wants their vehicle to look its best. But, over time, even the most well-cared-for car will begin to show signs of wear and tear. This is especially true for the paint job, which can become dull, faded, and scratched. The coating bonds with the paint and creates a protective layer resistant to UV rays, chemicals, and scratches. Professional detailers or body shops typically apply ceramic coatings. The cost of a ceramic coating can vary depending on the size of the car and the number of coats that are applied. The average cost is between $500 and $2,000. Ceramic coatings can last for several years if they are properly maintained. Ceramic coatings usually come with a five-year warranty.
When To Choose Ceramic Coating For Your Car?
For starters, the ceramic coating provides a much higher level of protection than wax or sealant. It forms a hard, clear barrier that helps to deflect UV rays, dirt, and other contaminants.
In addition, ceramic coating is extremely durable and can last for years with proper care. It form a bond with the paint that helps to repel water, dirt, and other contaminants. And because it is applied in a very thin layer, it doesn’t change the color or appearance of your car.
So, are you looking for the best way to keep your car looking new for years? Inside Out Car Care serving Salisbury, MD, has the best deals on the ceramic coating. You can get your free estimate now!
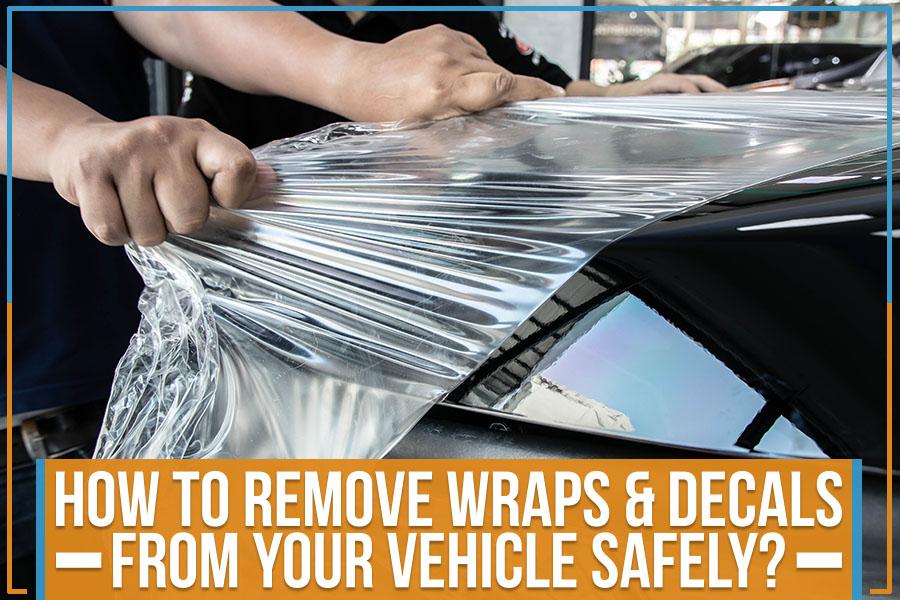
When you remove the wraps and decals from your car, it’s important to do so safely and correctly. We will go through the steps you need to take to remove them without causing any damage to your vehicle. We will also discuss how to wash and detail your car after removal and how to apply a ceramic coating for protection. Let’s get started!
How to Remove Wraps and Decals Safely?
You need to keep in mind a few things when removing wraps and decals from your car are discussed below:
Step 1: Heat
First, always use a heat gun or hair dryer to soften the adhesive before attempting to remove the wrap or decal. It makes the process much easier and prevents you from damaging the paint.
Step 2: Start at a Corner
Second, use a plastic putty knife or similar tool to gently pry the wrap or decal off of the surface. Start at a corner. You can work your way around until the entire piece has been removed.
Step 3: Remove Residual Adhesive
Once the wrap or decal has been removed, use a product like Goo Gone to remove any residual adhesive.
Step 4: Wash & Detail
Finally, wash and detail the area where the wrap or decal was removed. This will help to protect the paint and keep it looking its best. You can get help from a professional car detailing service provider.
Washing & Detailing: Why Is It Important?
Your car should be washed within 24 hours of removing the wrap or decal. This will help to remove any residual adhesive and prevent dirt and grime from building up on the surface.
After washing, you’ll want to detail the car. Car detailing includes polishing and waxing the paint to protect it from the elements. We always recommend taking help from a professional car detailing service.
The finest approach to keep your paint pristine following a wrap or decal removal is to apply a ceramic coating. A ceramic coating will shield you from the elements, making it easier to wash and keep your paint looking its best. If you’re not familiar with applying a ceramic coating, we’ve got you covered.
So are you looking for a reliable and professional car care service in Ocean City? Look no further than Inside Out Car Care. Our team of experienced detailers can provide your vehicle with a high-quality ceramic coating and keep it looking brand new for years to come.
Additionally, we offer various detailing packages to suit your needs and budget. So whether you’re looking to protect your investment or just want your car to look its best, Inside Out Car Care serving Ocean City is the right choice. Give us a call today or check out our detailing packages. You can also ask us for a free quote!
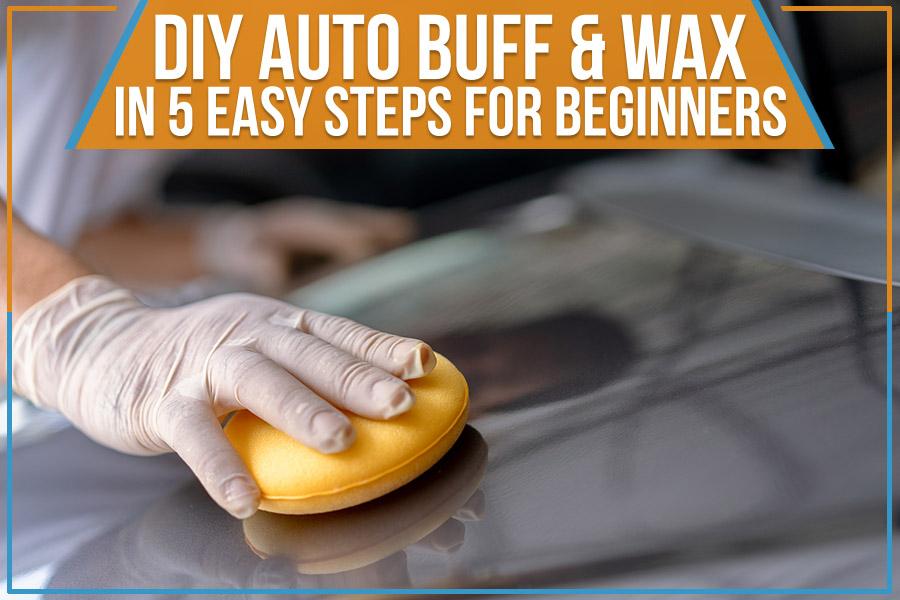
DIY Auto Buff & Wax In 5 Easy Steps For Beginners
Are you tired of a car that looks like it’s been through a war? If you want to get your car looking spick and span without having to spend loads of money, then look no further!
This blog post, Inside Out Car Care, will show you how to do a DIY auto buff & wax in just a few easy steps. You’ll be amazed at the transformation, and your friends will be asking for your secrets. So let’s get started!
What you’ll need:
- Wax
- Buffer (optional)
- Microfiber cloth
- Sponge
- Bucket
- Water
- Soap
Step One: Wash Your Car
You can’t wax your car if it’s covered in dirt and grime! So the first step is to give it a good wash. If you have access to a hose, that’s ideal. Otherwise, you can wash your car at a self-service car wash or even in your driveway. Make sure you use soap and water appropriate for cars – regular dish soap can damage the paint. Make sure you use a pH-neutral soap designed for cars. Work in small sections, often rinsing to avoid streaks.
Step Two: Dry Your Car
Once you’ve scrubbed and rinsed your car, it’s crucial to dry it off completely. You can use a chamois fabric or even just some old towels. An excellent way to do this is to use a microfiber cloth. It’s best to avoid using a towel, as they can leave streaks. If your car is still wet when you start waxing, the wax won’t adhere properly. Just make sure to get rid of all the water so that the wax can bond properly to the paint.
Step Three: Apply Wax
Now it’s time for the main event! It’s time to break out the electric buffer if you have one. If not, don’t worry – you can still do it by hand. Just be prepared for a bit more of a workout. Choose a good quality automotive wax – and apply it in a thin layer across all the panels of your car, making sure to cover every inch. You don’t need to use too much, but make sure to get into all the nooks and crannies.
Step Four: Buff it out
Once the wax has been applied, take a soft cloth and start buffing. Go in circular motions and make sure to get into all the corners and edges. The aim is to get the wax buffed into a high shine. Using your buffer, work in small sections until you’ve covered the whole car. Overlap each section to make sure you don’t miss any spots.
Step Five: Enjoy your Shiny Car!
Once you’ve finished buffing, stand back and admire your handiwork! Not only will your automobile look amazing, but the durable wax layer will shield it from the elements.
Conclusion
So, there you have it – a simple guide on how to buff and wax your car like a pro! We hope you found this information helpful. It might appear daunting, but with a bit of practice (and the help of an experienced friend or family member), you’ll be able to achieve that showroom shine in no time.
If you want the services of a professional in Salisbury, we offer complete auto detailing services right here at Inside Out Car Care.
Reach us today for a free estimate in Ocean City, and let us take care of everything for you!
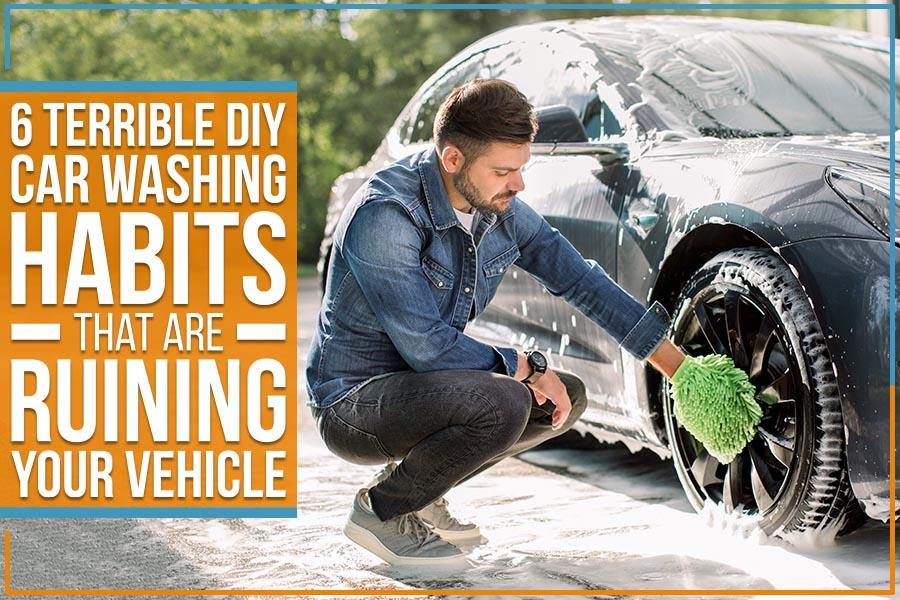
You love your car, and you want to keep it looking its best. But are you unknowingly ruining your vehicle with some bad DIY car washing habits? From using the wrong kind of soap to failing to rinse correctly, you can quickly ruin your car’s finish and require expensive repairs down the road with the bad techniques to wash your car. So read on and learn how to clean your car the right way – it’ll save you time, money, and a lot of aggravation in the long run.
Six Car Washing Habits to Avoid
Inside Out Car Care will discuss six terrible DIY car washing habits that you should avoid at all costs!
1. Waiting too Long to Wash the Car:
One of the most common mistakes people make when cleaning their car is waiting too long between washes. If you wait too long, the dirt and grime will build upon the vehicle and be much more difficult to remove. In general, you should wash your car at least once a month to keep it looking clean and shiny!
2. Not Using the Right Products:
People make another common mistake when washing their car using the wrong products. Many people try to save money by using dish soap or other household cleaners to wash their car, but these products can damage the finish and make it more difficult to clean. Instead, it would help if you used a quality automotive cleaner specifically designed for washing cars.
3. Not Using the Right Tools:
Many people also don’t use the right tools when washing their cars and using the wrong products. This can lead to scratches and other damage to the vehicle’s finish. It would help if you used a soft cloth or sponge to wash your car and avoid using anything that could scratch the paint.
4. Not Rinsing the Car Thoroughly:
Another common mistake is not rinsing the vehicle thoroughly after washing it. This can cause dirt and soap residue to build upon the paint, leading to scratches and other damage over time. Make sure to rinse your car thoroughly after washing it to avoid this.
5. Not Drying the Car Properly:
Another mistake that people often make is not drying it properly after washing it. This can cause water spots to form on the paint, challenging to remove and damage the finish over time. Make sure to dry your car completely after washing it to avoid this.
6. Overusing Chemicals to Wash the Car:
Many people think using more chemicals will make their car cleaner. However, this is not the case and can damage the paint and finish of your car. Use a mild soap or shampoo when washing your vehicle to avoid damaging it.
Ending Note
As you can see, there are many things that you can do wrong when washing your car. But don’t worry, we’re here to help! If you want your vehicle to look its best, it’s essential to clean it the right way. We have provided high-quality car care services to Salisbury and the surrounding area at Inside Out Car Care for many years. We would be happy to give you a free estimate so that you can get your vehicle looking new again. Contact us today to get started!
More Sins Of Diy Interior Car Detailing

If you’re like most car lovers, you enjoy taking care of your vehicle and keeping it looking its best. Alas, many of us don’t have the liberty of spending a lot of money on professional car detailing services. So, you might be tempted to do the detailing yourself.
But before you take the plunge, be aware of the potential pitfalls – there are a few common mistakes that many DIYers make, and they can end up doing more harm than good.
Inside Out Car Care experts discuss some of the most common sins of DIY interior car detailing and show you how to avoid them in this blog post!
Sin 1 – Not Using the Right Product
A typical mistake DIYers make is not using the right products. Many folks try to save money by using household cleaners or other inappropriate materials, which can damage your car’s interior. For instance, using ammonia-based cleaners on leather can strip away the protective finish and cause the fabric to dry out and crack.
Sin 2 – Over-applying the Cleaning Product
Another common mistake is over-applying the cleaning products. When detailing your car’s interior, it’s essential to use just the right amount of cleaner—using more than the necessary quantity can leave a residue that will be difficult to remove. It can also damage the surface over time.
Sin 3 – Cleaning Too Much and Damaging the Interior All at Once
DIYers often make the mistake of assuming that they have to clean every nook and cranny of their car’s interior. All you need to do is focus on the visibly dirty areas most of the time. Be sure to clean the interior in a well-ventilated area, as the fumes from some of these products can be harmful.
Another danger of carrying out a DIY interior car detailing job is that you can easily damage your car’s surfaces if you’re not careful.
Sin 4 – Financial Implications
Another thing to consider is the financial implications of doing it yourself. If you damage your car’s interior, you may have to pay for costly repairs. And yes, car interior repairs can get pretty pricey.
Sin 5 – Doing Shabby Work
The last reason not to do DIY interior car detailing is that you may not do a good job. This can result in dirty and haphazard surfaces, which is not a good look. Trust us on this; YouTube DIY interior detailing videos are not the best source of information. It is best to leave the detailing to the professionals!
On that note, if you’re looking to detail your car on a budget in Salisbury, MD, we suggest avoiding these five sins. Instead, get in touch with our experts at Inside Out Car Care and let us show you how professional car detailing can be an affordable option. One that will leave your car looking and smelling amazing. Get a free estimate!
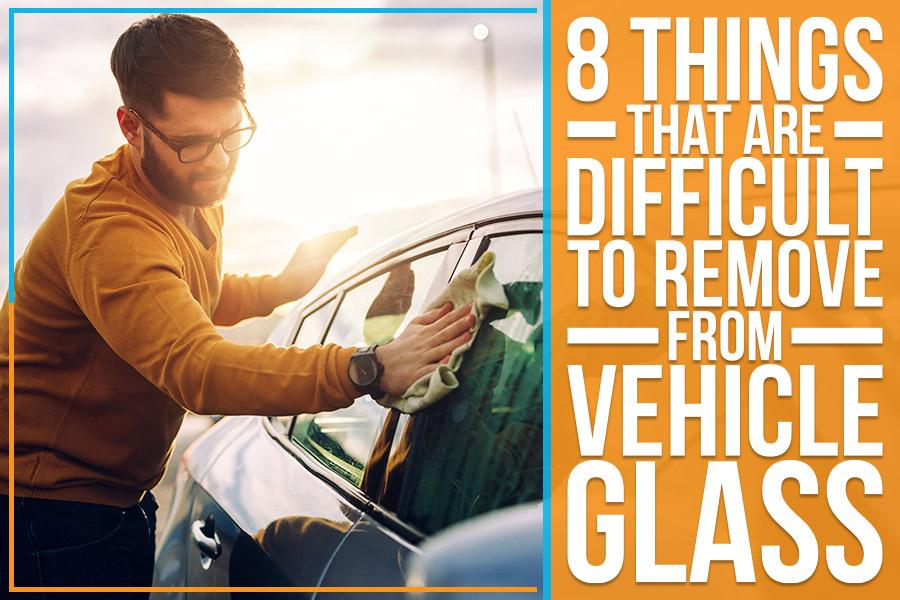
Windshields & windows are an expensive part of a vehicle, and while they protect the occupant from harsh winds, bustling little bees & act as your decal drawing board, they sacrifice their aesthetics in the process. Inside Out Car Care lists a few synthetic & organic contaminants that can mark your car’s body & glass; you better have a lot of white vinegar & bug splatter cleaning sprays in store.
This will sound more like an advertisement for microfiber cloth than a listicle of stains hard to remove from vehicle windshields. But it is what it is!
# 1. Good Ol’ Decals
If you have invested in some shady, low-quality stickers, you will find them the hardest to get off of your car’s windows. They don’t just leave behind a sticky residue; they also tear off somewhat botched. Decals can bring out the same issue. So, it’s best to heat the decal or sticker using a dryer, peeling the sticker/decal off, then scrape off the rest using a blade—Wash & dry with a microfiber cloth.
# 2. Sticky Tree Syrup
That’s a challenge to remove. Just imagine organic grade resin curing on your pristine car’s windows while you stand helpless. Easy, get some rubbing alcohol, and keep cleaning the sap off with copious amounts of the alcohol. The sap will wear off, and you can clean the windshield conventionally.
# 3. Bubblegum
Stop using blades, soapy hot water, or nails to scrape off bubblegum. Trust us; you’re making a bigger mess of it otherwise. Instead, get an ice pack, cool the gummy mess, and just pull it off like a cold Band-Aid. Then you can clean the window the usual way.
# 4. Aerosol Paints
Oh dear, you’re having a bad day. Spray paints are nearly permanent unless you are handy with a blade and can keep the scrapping steady in one direction. Use an acetone nail enamel remover to remove the remaining bits, but use a separate microfiber cloth as an applicator & cleaner.
# 5. Windshield Bugs
If you are an ardent traveler, you aren’t new to this. There are many kinds of bug removal sprays for all that highway splatter, and they ought to do the trick. But a terrific DIY alternative is dabbing the bug stain with WD-40 (That stuff is the elixir of DIY hacks!), scrubbing with a soft sponge, and then cleaning with microfiber.
# 6. Wiper Streaks
That is what happens when you don’t change your wipers yearly. The rubbers can wear off and leave etched streaks across the windshield, which only makes the view more disconcerting than soothing. Change the wipers, please!
# 7. Corrosive Rain
Being a resort town, Ocean City doesn’t have an industrial area to turn the surrounding rainfall into an acid bath. But if your find harsh water stains or marks that seem a notch above the usual water stands, have a dilute solution of white vinegar handy. Spray it over, let it sit for a few minutes, and wipe with a microfiber cloth.
# 8. Water Stains
This happens when you use hard water, substandard car wash soaps, and then leave it to be sundry. You are supposed to use a microfiber cloth to wipe down the windshield & windows before pat drying the car.
Inside Out Car Care, your ardent auto detailers in Salisbury, MD, request you to avoid using too much force & blade for sap or gum. It would be safer if you had our pros have a go at what we’re best, exterior detailing! Check our services, & get your free quote!
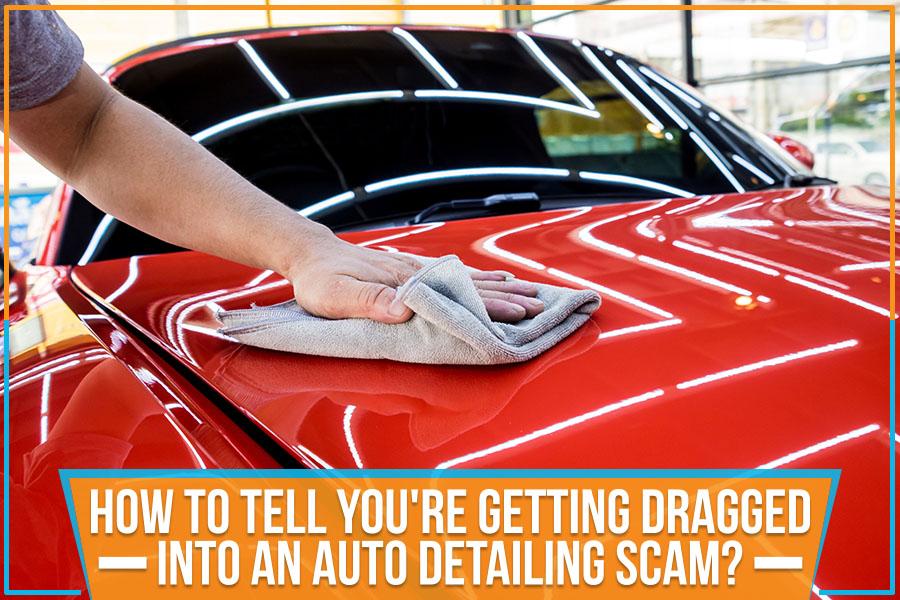
When it comes to our cars, we want to ensure that they are always looking their best. Many of us turn to auto detailing as a way to keep our vehicles looking great. However, not all auto detailing services are created equal. Some unscrupulous businesses will try to scam unsuspecting customers out of their hard-earned money. This blog post by Inside Out Car Care will teach you how to spot an auto detailing scam before it’s too late.
They Ask You to Pay First
One of the glaring signs that you’re getting scammed by an auto detailing business is if they ask you to pay before they do any work. A reputable company will never ask for payment until the job is completed. If a business strives to get you to pay upfront, it’s best to walk away and find a genuine option.
You should always pay after the work is done to ensure that they do the job satisfactorily. If you’re not content with the outcome, you can refuse to pay or have them do the work again. If you pay in advance, they’ll have no incentive to do a good job and may disappear with your money.
They Ask for an Extremely Cheap Price
When your car needs thorough detailing, it’s normal to want the best price and save as much money as possible. However, you should be wary of auto detailing businesses that offer a meager price because this could mean they could be trying to scam you. They may provide a cheap service at first and then try to add more fees or services when they’re done, which can end up costing you a lot of money.
If the deal they offer appears too good, it probably is, so avoid any detailing business that provides an unbelievably low price. Stick with companies that have reasonable prices and are honest about what services they will provide. You may pay a little more, but it’s worth the peace of mind knowing that you won’t get scammed.
They Compel You to Sign a Contract without Reading it Carefully.
A reputable auto detailing business will never force you to sign a contract (applicable to periodic detailing) without reading it carefully. They’ll be upfront with their pricing and tell you what services they provide, so there won’t be any shocks when the bill comes due at the end of your visit. Before signing anything, ensure all terms are clearly explained, and you have a clear understanding of what you’re getting into.
They Have No Physical Address
Another red flag is if the detailing business doesn’t have a physical address that you can visit. If their address isn’t listed anywhere, it’s best to go elsewhere for detailing services. A legitimate business will always have an address where customers can come and get their car washed and detailed.
It’s essential to be aware of these scams, so you don’t get taken advantage of and protect yourself from harm. Get a free estimate from Inside Out Car Care in Salisbury, MD, if you don’t want to take any risks. We offer high-quality car detailing services, and our team will never pressure you into making a decision.
How To Detail A Tractor Like A Pro?
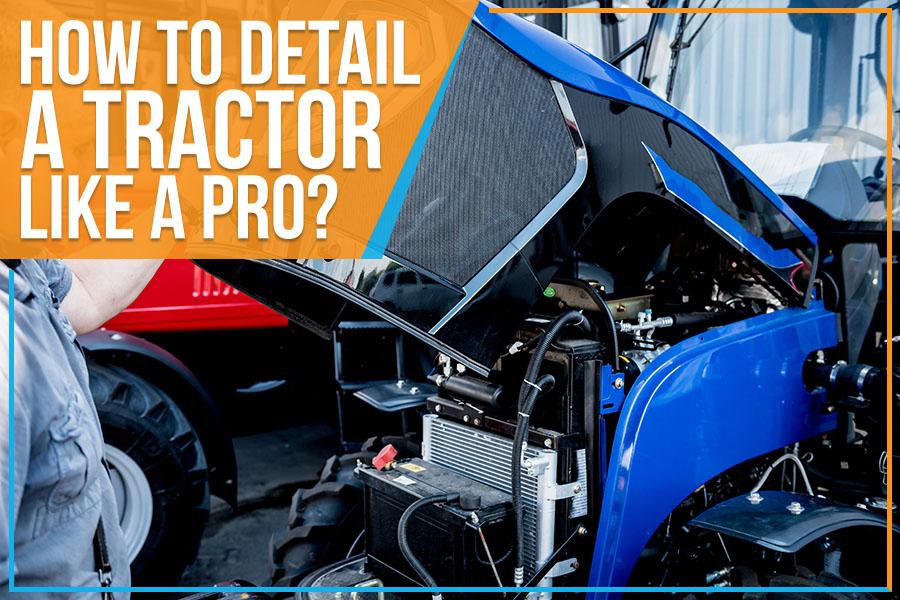
If you are the tractor owner, keeping it in good condition is essential. Not only does this ensure that your tractor runs smoothly, but it also helps to protect your investment. This blog post by Inside Out Car Care discusses how to detail a tractor like a pro! We will go over the steps you need to take to clean and polish your tractor, and we will also provide some tips on how to protect its finish. Keep reading for more information!
We’ll cover everything from the basics of cleaning to more advanced techniques like polishing and waxing. So whether you’re a beginner or a proficient detailer, this post has something for you!
Tractor Detailing Steps
When it comes to tractor detailing, there are a few things that you need to keep in mind. Firstly, you have to ensure that you have the right tools for the job. Secondly, you need to know how to use those tools properly. And finally, you need to be familiar with the proper techniques for tractor detailing. Let’s discuss all of those things step by step. We will find the tools you will need and then move on to the techniques themselves. So without further ado, let’s get started!
Clean the Tractor
First, let’s start with the basics. The first step in detailing a tractor is to clean it. It means washing all the dirt and grime off the tractor using soap and water. Be sure to take special care of the engine, wheels, and tires. You can use a brush or a pressure washer to get the job done if needed.
Apply Wax
Once the tractor is clean, it’s time to start detailing it. The first step is to apply a wax or sealant to the tractor’s body. It will help protect it from rain and sun damage. Next, you need to polish the paint using a buffer. It will make the paint shine and look new.
Clean and Polish the Tires
Finally, it would help if you cleaned the tires and wheels. You can do it with a brush or a pressure washer. Be sure to use soap and water to remove all dirt and grime. Once they are clean, apply a coat of black wax or sealant to protect them from rain and sun damage.
Now your tractor will look like it just came off the showroom floor! If you follow these steps, you can Detail a tractor like a pro in no time.
Conclusion
Tractor detailing is one of those things that may seem like it’s not very important, but it can make a huge difference. Inside Out Car Care has been creating values for your vehicles through detailing them since 1981. We use high-quality products and the best techniques to deliver outstanding finishes for your automobiles in Salisbury, MD. Get s free estimate
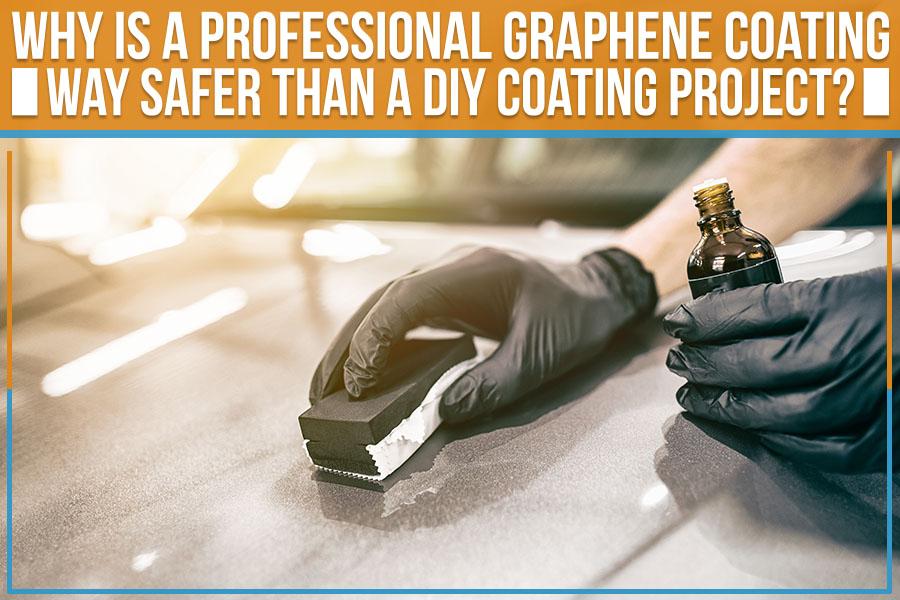
Graphene coatings offer excellent protection for your car, and while the professional application may be expensive, the benefits are worth it. Not only will a graphene coating keep your vehicle looking new for longer, but it will also help to protect the paint and metalwork from corrosion and other damage. By contrast, if you try to do a DIY graphene coating project yourself, you could end up doing more harm than good.
This blog post by Inside Out Car Care looks at why professional graphene coatings are so much safer and have better value for money than DIY projects. Stay safe – let a professional take care of your car’s protection in Salisbury, MD!
1) Gives a Rich Deep Shine
A professional graphene coating will give your car a deep, rich shine that you can’t achieve with a DIY project. Not only does this look ideal, but it also helps to protect the paintwork from fading and other damage.
When applied correctly, graphene forms an incredibly tough barrier against scratches, fading, and other types of wear and tear. By contrast, if you try to do a DIY project yourself, there’s always the risk that you’ll miss some areas or unevenly apply the coating. This can lead to long-term damage to your car’s paintwork and metalwork.
2) Longer Durability
Professional graphene coating offers sturdy protection for vehicles and can last for three to four years. This is significantly longer than any DIY coating, which will usually last for a year and a half at best.
Professional coatings are also resistant to high temperatures and acidic rain, meaning that your car will be better protected against the elements.
3) DIY Coating Has Paint Imperfections
Professional graphene coatings are applied by experts who have been trained in doing them correctly. This means that you will avoid any imperfections, and your car will look great for years to come.
So, if you want the best protection for your vehicle, a professional graphene coating is the way to go!
Safety should always be your number one priority for car care. By opting for a professional graphene coating rather than trying to do it yourself, you can ensure that your car is well-protected from damage and looks great too!
4) Less Water Spotting
Traditional DIY coatings are notorious for retaining heat and causing water spots. This is not the case with professional graphene coatings designed to repel water and prevent unsightly spots from forming.
So if you’re looking for a car coating that will keep your vehicle in top condition, look no further than professional graphene! It’s the best way to go!
Graphene has fantastic properties that you can harness to improve the performance of numerous products. There is simply no comparison between a professional graphene coating and a DIY coating project for car coatings.
A professional graphene coating is way safer than a DIY coating project. Not only will you have peace of mind knowing that your car is in good hands, but you’ll also get better results. At Inside Out Car Care, we pride ourselves on providing our clients with the best possible service and results in Salisbury, MD and the surrounding areas. We offer free estimates to help you determine which services are best for your vehicle.
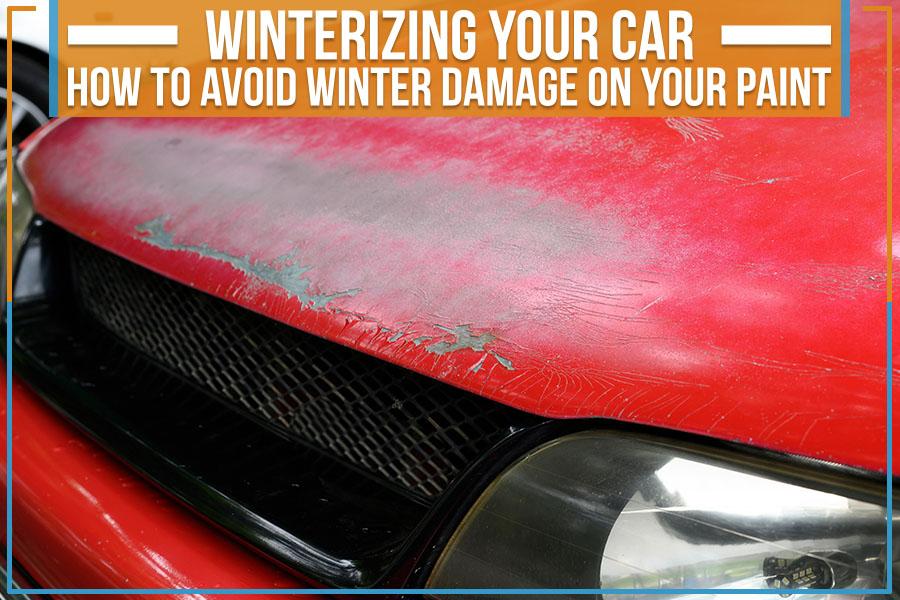
Winter just kicked down the door, which means that it’s time to get the car winterized. For some of you, this may be a new concept. Winterizing your vehicle is not just about making sure there are enough blankets in the backseat!
Inside Out Car Care shares ways to preserve your paint against winter damage in this blog post.
Whether you plan to take long road trips or park outside your home in Salisbury, MD, in freezing temperatures, these tips will help keep your vehicle’s coat looking shiny and new all winter long!
Tip 1: Clean Gently
Cleaning your car’s exterior is essential, but it becomes especially crucial during the winter months. When you wash and dry your vehicle before putting it away for the season, be sure to do so gently with a lint-free microfiber cloth or cotton towel. Don’t use any brush or harsh fabric as this can cause scratches and other damage to your car’s paint.
Tip 2: Dry Off Well
Winter’s favorites are snow and ice, which can easily cause stains on your car’s paint if not dried off properly.
Before driving or parking your car outside for a long time, take a moment to remove any snow or slush, which may have built up. This will help prevent water spots formation that can be difficult to remove.
Tip 3: Take Cover
When you’re not using your car, make sure to park it in a garage or put a cover on it. Parking it under a roof is ideal, but if you don’t have access to one, try parking it near a wall or some other form of shelter so the wind doesn’t hit your car directly.
Alternatively, cover your car with an old blanket or tarp when you’re not using it. This is a great way to protect your vehicle from the harsh winter weather, but be careful when removing or putting on the cover so you don’t scratch or scuff it.
Tip 4: Keep Waxing On
Regularly waxing your car will help protect the paint from the winter weather.
Make sure to use a good quality wax and apply it in the correct order (wax, then sealant). This will ensure your car stays shiny and new all winter long. Without a consistent waxing routine, your car’s paint can become dull and faded.
Tip 5: Watch Out!
It can be tempting to scrape the ice off your windshield or windows, but be careful not to damage the paint in the process.
Be especially mindful of metal ice scrapers, which can leave unsightly scratches on your car’s finish.
Instead, use a plastic scraper or an old credit card to remove the ice. These allow you more control and will minimize the risk of damage.
The Gist
Winter can be stressful for vehicle maintenance, but hopefully, with these five tips, you can keep your car looking its best all season long!
If you’re looking for a reliable and professional service to help preserve your car’s paint this winter, look no further than Inside Out Car Care. We’re proud to serve the car owners in Salisbury, MD, through all weather conditions!
Connect with us


- January 2023
- November 2022
- October 2022
- September 2022
- August 2022
- July 2022
- June 2022
- May 2022
- April 2022
- March 2022
- February 2022
- January 2022
- December 2021
- November 2021
- October 2021
- September 2021
- August 2021
- July 2021
- June 2021
- May 2021
- March 2021
- January 2021
- December 2020
- September 2020
- August 2020
- July 2020
- May 2020
- April 2020
- February 2020
- December 2019
- September 2019
- June 2019
- February 2019
Archives
Categories
Imagine Your Car… Cleaner, Shinier & Smoother Than When You Bought it!
Make it a Reality with the Most Advanced Detailing & Ceramic Auto Spa in Maryland.
Follow Us On
Appointments Required to both Ocean City and Salisbury.Salisbury
726 S Salisbury Blvd. Unit G, Salisbury, MD 21801
Business Hours
| Monday | 9:00AM - 5:30PM |
| Tuesday | 9:00AM - 5:30PM |
| Wednesday | 9:00AM - 5:30PM |
| Thursday | 9:00AM - 5:30PM |
| Friday | 9:00AM - 5:30PM |
| Saturday | 9:00AM - 5:30PM |
| Sunday | Closed |
Ocean City
12472 Sea Oaks Ln, Unit 8, Ocean City, MD 21842
Business Hours
| Monday | Closed |
| Tuesday | 10:00AM - 5:00PM |
| Wednesday | 10:00AM - 5:00PM |
| Thursday | 10:00AM - 5:00PM |
| Friday | Closed |
| Saturday | Closed |
| Sunday | Closed |