If you love road trips and have a vehicle dedicated explicitly for the purpose, like an RV, you know they get dirty pretty fast. The worst bit is dealing with the fogged-over headlights from the abrasive dust and gravel from the drive. Headlights are the most crucial visibility feature in a vehicle.
The headlight lenses are usually polycarbonate plastic that can withstand harsh highway conditions without cracking up. Still, there is the sun with its plastic-deteriorating UV rays. So, the lenses come with a UV-protecting film. But the sun eats through that too!
Suppose you’re on the road in Salisbury, MD, and feel your headlights are fogging up too severely that you nearly hit a motorist at night, then Inside Out Car Care has just the list of things you ought to keep on hand.
Let’s begin your DIY headlight restoration, far from home!
Step 1: Get the Stuff You Need
You will find many headlights restoration kits, but if you’re a thrifty spender, the following items can be easily grabbed from a general pharmacist and hardware store.
- Headlight Polishing Chemical
- Headlight UV-Lens Sealant
- Teeth Whitening Tooth Paste
- 1000-to-3000 Grit Sandpaper
- Painter’s Tape
- Water Spray Bottle
- Microfiber Towels
Step 2: Start Washing
Remember, conserve water on the road. Wet a car sponge with a spray bottle, and wipe away the debris from the headlights and the sides. Then wipe with a microfiber cloth to thoroughly dry the area.
Step 3: Tape-Off Then Sand
Use the painter’s tape to tape off the trims around the headlights so that the sandpaper will not scratch the paint when you begin. Start with the roughest grit (1000 grit), then work your way to the finer grit sandpaper. To start the critical process, wet the 1000-grit sandpaper & the headlight again, and sand the plastic lens in horizontal strokes. Give it a good 5-10 minutes of sanding with the surface kept wet. Repeat the process with 2000-grit diagonal strokes and the 3000-grit sandpaper in the opposing diagonal strokes. Wipe & dry when done.
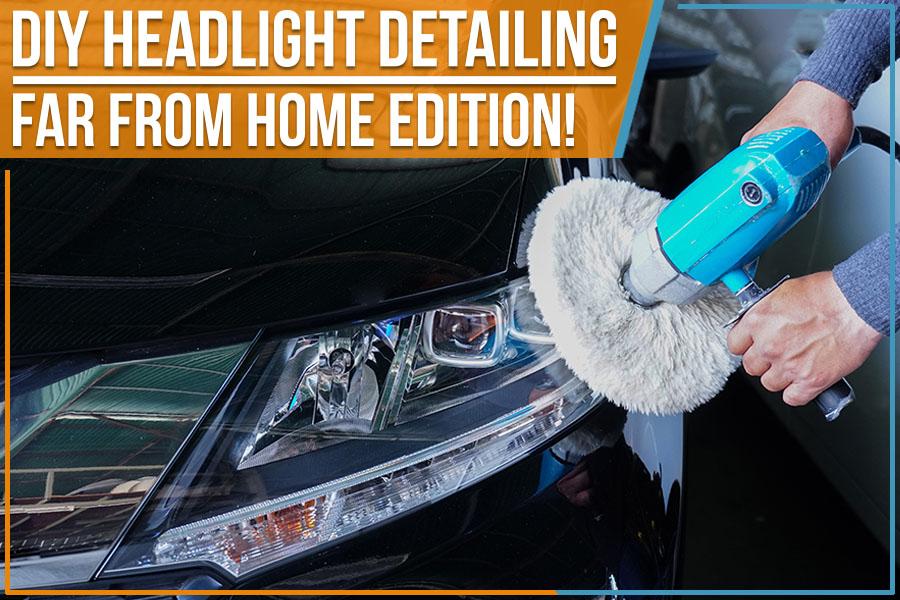
Step 4: Polishing & Waxing
Squeeze out the polishing chemical onto a fresh microfiber towel and rub it onto the headlights in circular motions for a few minutes. Clean the lenses again, then apply the wax and polish again.
Step 5: Apply UV Sealant
You need a UV sealant because you just sanded away the old layers, and missing this step will mean your hard work is wasted. Wet a paper towel and apply the sealant in broad strokes, then leave to cure. One or two coats may be used depending on the manufacturer’s instructions.
Step 6: Visit Inside Out Car Care ASAP
If you did all these steps and feel your headlights can last a while longer, good for you. But if your headlights are too far gone to show any improvement after restoration, it may be time to cut your trip short and come over to our car detailing business.
Inside Out Car Care is based in Salisbury and has branches in Ocean City, Berlin, Ocean Pines, & Fruitland.
Need your travel vehicle detailed nearby? Browse our services and grab your free quote. Where DIY fails, Inside Out Car Care prevails!
Connect with us


- January 2023
- November 2022
- October 2022
- September 2022
- August 2022
- July 2022
- June 2022
- May 2022
- April 2022
- March 2022
- February 2022
- January 2022
- December 2021
- November 2021
- October 2021
- September 2021
- August 2021
- July 2021
- June 2021
- May 2021
- March 2021
- January 2021
- December 2020
- September 2020
- August 2020
- July 2020
- May 2020
- April 2020
- February 2020
- December 2019
- September 2019
- June 2019
- February 2019
Archives
Categories
Imagine Your Car… Cleaner, Shinier & Smoother Than When You Bought it!
Make it a Reality with the Most Advanced Detailing & Ceramic Auto Spa in Maryland.
Follow Us On
Appointments Required to both Ocean City and Salisbury.Salisbury
726 S Salisbury Blvd. Unit G, Salisbury, MD 21801
Business Hours
| Monday | 9:00AM - 5:30PM |
| Tuesday | 9:00AM - 5:30PM |
| Wednesday | 9:00AM - 5:30PM |
| Thursday | 9:00AM - 5:30PM |
| Friday | 9:00AM - 5:30PM |
| Saturday | 9:00AM - 5:30PM |
| Sunday | Closed |
Ocean City
12472 Sea Oaks Ln, Unit 8, Ocean City, MD 21842
Business Hours
| Monday | Closed |
| Tuesday | 10:00AM - 5:00PM |
| Wednesday | 10:00AM - 5:00PM |
| Thursday | 10:00AM - 5:00PM |
| Friday | Closed |
| Saturday | Closed |
| Sunday | Closed |